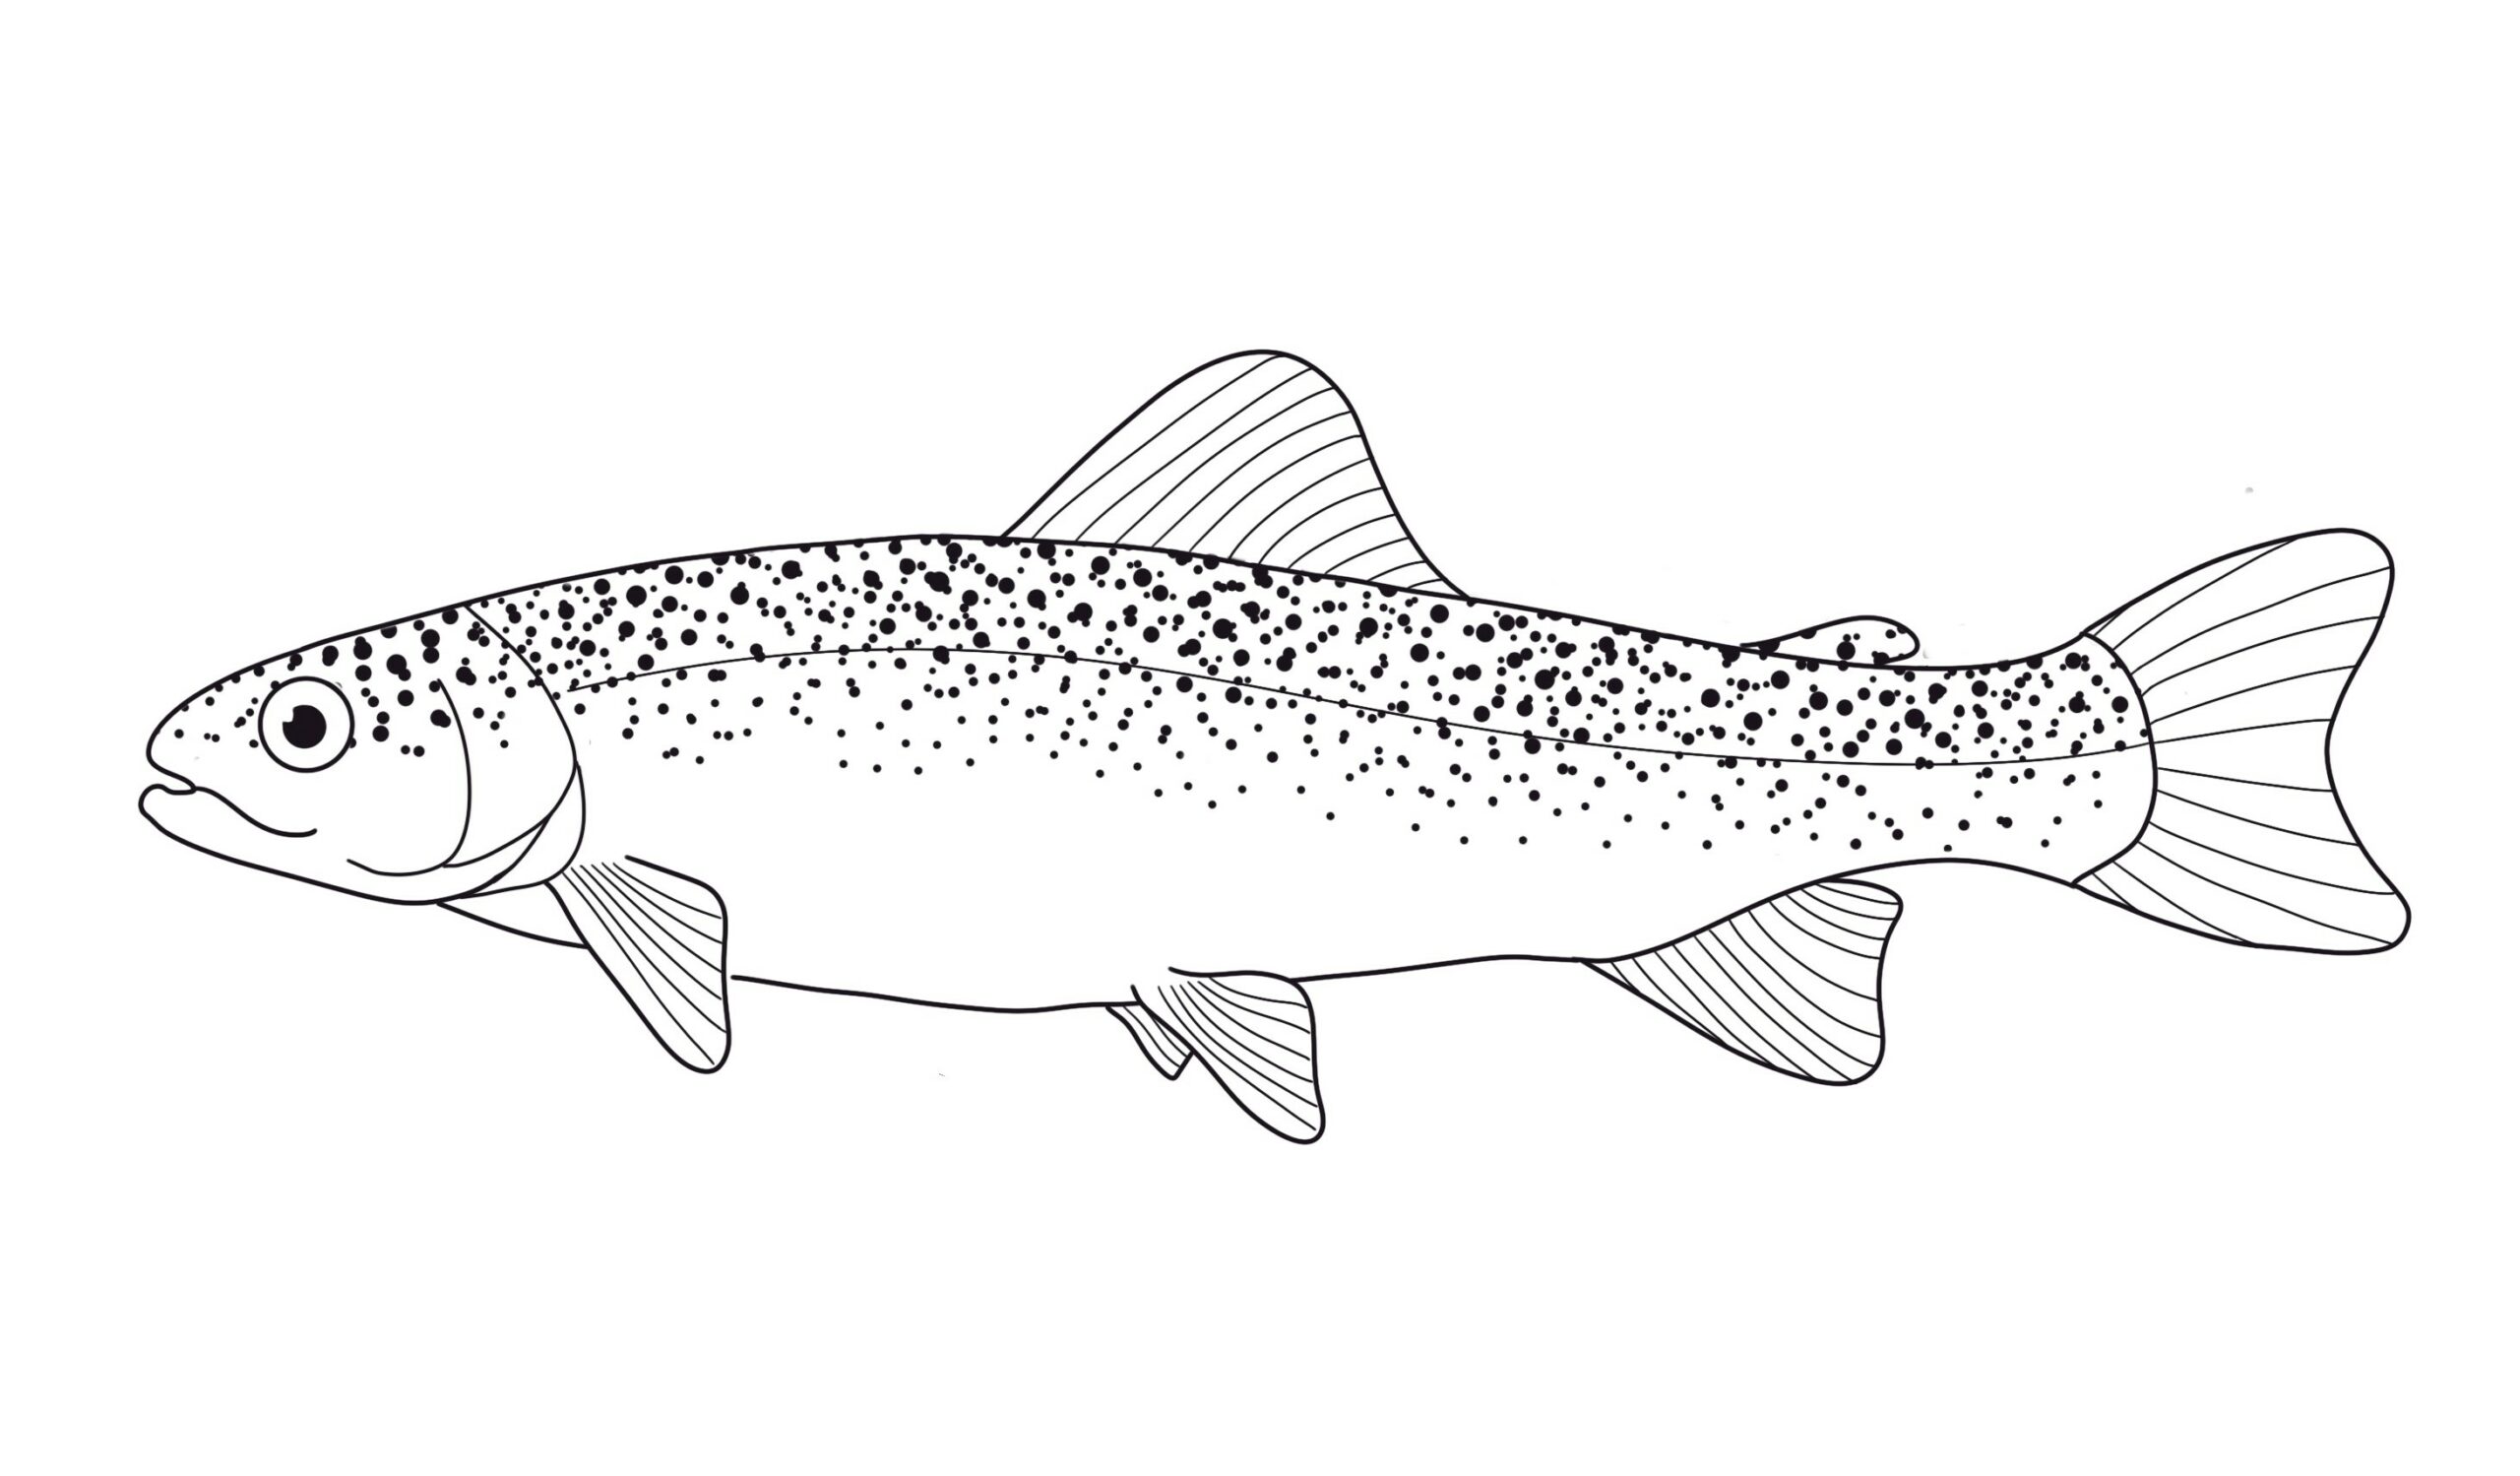
Trout Art Lesson
Paint and style your own Rainbow Trout!
In lesson three we learned all about trout anatomy, now we get to paint our trout!
Grab some watercolor paints, a paintbrush, some paper towels or a rag, a couple cups of water, and some salt!
This is the image that we will be using, click on it to print it out onto 8.5x11 paper.
Step One:
This activity can get a little messy, so let's cover our workspace with some newspaper or scratch paper. Once your workspace is ready, gather your supplies. This is also a good time to think about what you want your trout to look like, you can check the Trout Cam videos on our YouTube page or even search "rainbow trout colors" on Google or another search engine
Step Two:
Now it's time to start painting! Since were using watercolors we want to be sure to clean our brush in between colors, this is why we have two water cups! When we're painting with watercolors, the more water we use, the less saturated or vibrant our color will be it will also be much runnier than any acrylic paint, so keep that in mind! Let's paint our trout's lightest areas, so the belly and maybe the tips of the fins, remember rainbow trout have lots of variations when it comes to their fins and even the "parr" markings on their bodies.
Step Three
Now that the belly is done it's time to add the pink stripe down the middle of our trout's side! At this point it's okay if the pink blends with the lighter tan/yellow color we have on the belly. After our pink is done, we can start to add some of the darker colors. Will your trout be brown, grey, or dark green? Add that color to the upper part of your trout!
Step Four
Now, let's make sure that the paint on the upper part of our trout is still wet, not just damp. If it's not wet, use your brush to add more paint/water. Now take your salt and sprinkle it onto the painting. This will give the upper part of your trout a nice spotty texture that can look like scales!
Step Five
After your painting dries, rub the salt off with your fingers and you're done! Good job!
Upcoming Events
Nipomo, 93444 United States
Newsletter
Our newsletter keeps you up to date with the latest information about our exhibits, upcoming events, and programs.


